Please Choose Your Language


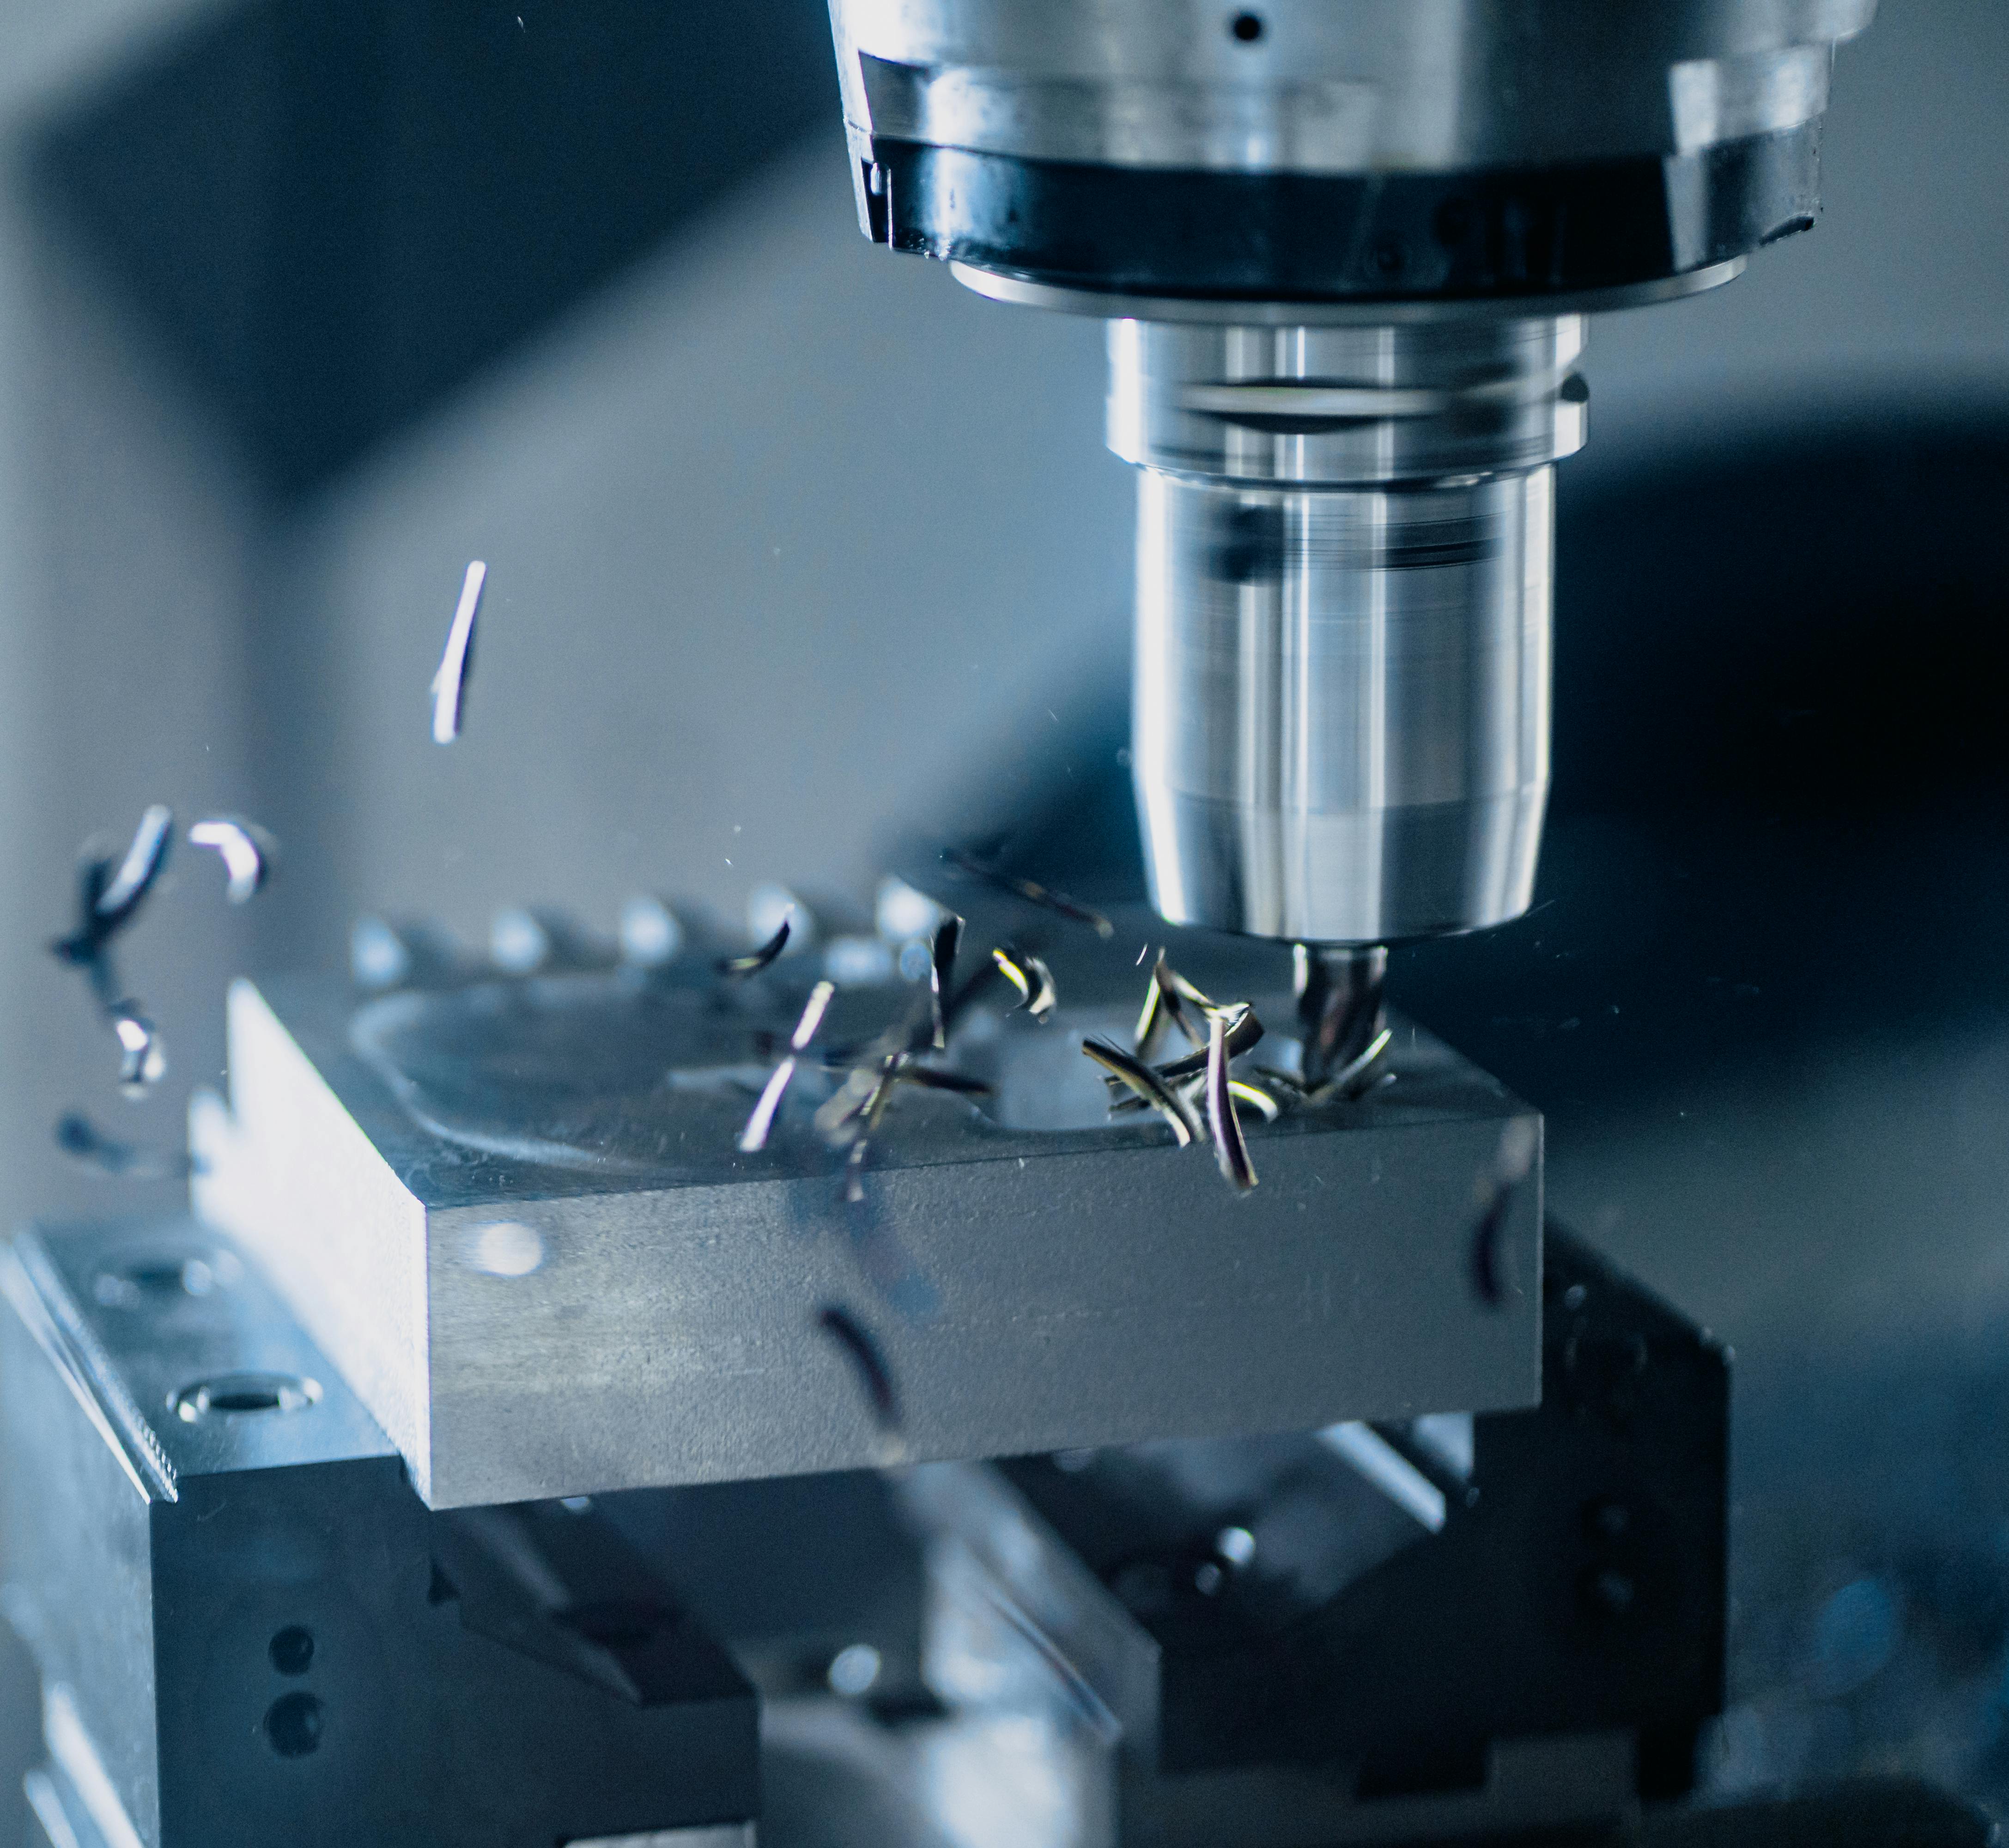
Five-axis CNC machining represents a significant advancement in manufacturing technology, enabling the production of highly complex parts with exceptional precision. Unlike conventional three-axis machines that move along X, Y, and Z axes, five-axis CNC machines add two more rotational axes (A and B or C), allowing the cutting tool to approach the workpiece from virtually any angle. This capability opens up possibilities for creating intricate geometries and smoother surface finishes.
| Availability: | |
|---|---|
| Quantity: | |
![]()
| Product name | OEM ODM Custom CNC Machining 5 Axis Machine High Precision Parts |
| Material | ALUMINUM 6061,steel,copper |
| Surface finish | silver plating |
| Processing method | CNC MILLING |
| Color | various color |
| Drawing Format | PDF, IGS ,STEP, XT |
| Tolerance | +/-0.01 |
| OEM/ODM | OEM ODM CNC Milling Turning Machining Service |
| Process | Custom Cnc Machining |
| Drawing Formats | PRO/E, Auto CAD, Solid Works , UG, CAD / CAM / CAE, PDF |
| Quality control | 100% Inspection |

Our OEM ODM Custom CNC Machining 5 Axis Machine High Precision Parts redefine complex part manufacturing for industries like aerospace, robotics, and medical technology. Using 5-axis CNC milling centers (Mazak Variaxis i-800) and turn-mill Compound Machining Center, we produce components from titanium alloys and superalloys with ±0.005 mm accuracy . From aerospace turbine blades with 3D contouring to implantable medical devices with micro-texturing, our solutions address the need for multi-axis machining and tight-tolerance assemblies in high-stakes applications.
Simultaneous 5-axis motion with tilt-rotary tables (±0.001° positioning) enables creation of intricate geometries like helical gears (DIN 5 quality), free-form surfaces (aerospace wing components with Ra 0.4 μm finish), and undercut features without re-fixturing .
Swiss-type machining for long-shaft parts (length-to-diameter ratio 30:1) with ±0.002 mm roundness and 0.005 mm straightness for precision shafts and lead screws.
Process titanium Ti-6Al-4V (for high strength-to-weight ratio), Inconel 718 (for high-temperature resistance up to 650°C), magnesium alloys (for lightweighting), and zirconium (for medical biocompatibility) .
Additive manufacturing integration (metal 3D printing via SLM) for hybrid parts with internal lattice structures (weight reduction 40% vs solid designs) and subsequent CNC finishing for precision surfaces.
CNC surface grinding achieves flatness ≤0.001 mm/100mm and parallelism ≤0.002 mm for optical mirrors and semiconductor wafer chucks.
Wire EDM cutting (AgieCharmilles CUT P series) creates intricate slots (width ±0.003 mm) and micro-features in hard materials (HRC 60–65) like carbide and tool steel.
Zeiss CMM inspection (accuracy ±0.001 mm) with laser scanning (1 million points/second) for complex surface verification, plus X-ray fluorescence (XRF) for material composition analysis.
FMEA-driven processes (per AIAG-VDA standards) reduce failure risks for critical parts, with First Article Inspection Reports (FAIR) and PPAP documentation for automotive/aerospace clients.
Aerospace: Turbine disks (balance tolerance ≤0.01g·mm), landing gear components (fatigue tested to 10⁷ cycles), and satellite antennae (RF performance verified).
Medical: Orthopedic implants (surface roughness Ra 0.2 μm for osseointegration), dental prosthetics (custom fit via 3D scanning), and surgical robotics joints (repeatability ±0.005mm).
Energy: Oil & gas valves (pressure tested to 10,000 psi), nuclear reactor parts (corrosion resistance to 5000 hours), and wind turbine gears (DIN 3962 Class 5 accuracy).
Defense: Firearm components (trigger pull consistency ±0.5N), missile guidance systems (angular error ≤0.001°), and armor plating (ballistic testing to NIJ Level III).
Reverse Engineering: Convert physical samples into CAD models (SolidWorks, STEP) with Artec Eva 3D scanning (accuracy ±0.02 mm) and Geomagic Design X for parametric modeling.
Assembly & Testing: Full system integration (e.g., bearing press-fitting with force monitoring, sensor calibration) and performance testing (vibration testing to 2000Hz, pressure testing to 10,000 psi).
Rapid Response: Expedited tooling (7–10 days) for urgent orders using graphite electrode machining, plus 24/7 production support for critical breakdown scenarios in automotive/aerospace lines.